
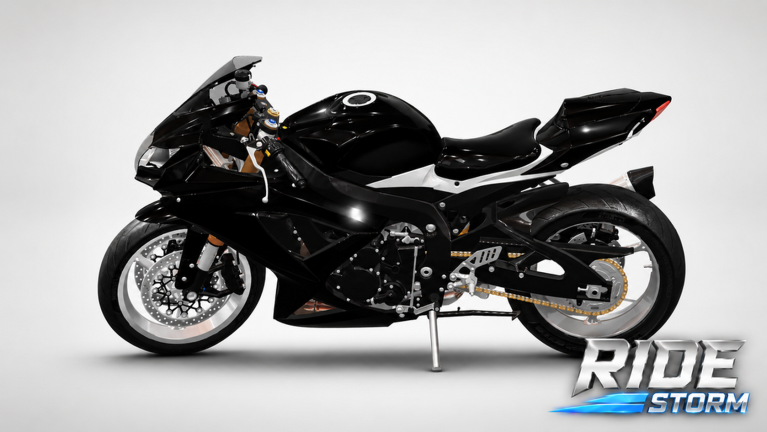

- Method
- One change at a time
- Confirm
- Cost + persistence
- Performance
- Only if UI/test shows it
- Spend order
- Bike before stickers
Safe workshop order
Select your daily bike, note stock look, change one option, preview from two angles, read cost, save, then reopen the garage to prove it persisted. Name a personal rule such as only one paid cosmetic per session until your daily bike feels finished.
Batching five changes hides which option spent the money. Lighting lies—check colors on a bright highway if you can free-roam before locking expensive paint. If reset exists, test it on a cheap option first so you know whether it returns stock or last-saved.
Look vs performance
A mechanical-looking part is not automatically faster unless the UI shows a stat change or a controlled test proves it. Real handling work belongs on the Tuning page.
Event cosmetics can leave when the event ends. Cap FOMO spend so you still afford the next bike. Keep paint recipes and tune notes in separate lists so you never apply a style screenshot as a handling card.
Budget order
Codes → competent bike → cosmetics. A painted starter is still a starter. Prefer one coherent look (primary + accent) over random shop spam.
If a cosmetic costs almost as much as your next upgrade, skip it. Progression compounds; stickers do not. When a new motorcycle lands, freeze cosmetics for one session and evaluate the bike stock first. A finished bike is one you still want to ride tomorrow, not a sticker collage you hide in the garage.